

The Rapitest Soil Test Kit is a user-friendly tool designed to measure soil pH, nitrogen, phosphorus, and potash levels. It provides quick, accurate results at home, helping gardeners optimize soil conditions for plant growth. The kit includes test capsules, a color comparator, and a pH preference list, making it an essential resource for maintaining healthy soil and improving crop yields.
1.1 Overview of the Kit and Its Importance in Soil Testing
The Rapitest Soil Test Kit is a comprehensive solution for gardeners to evaluate soil health. It measures pH, nitrogen, phosphorus, and potash levels, providing insights into nutrient availability. The kit includes test capsules, a color comparator, and a pH preference list, making it easy to interpret results. Its importance lies in its ability to simplify soil testing, allowing gardeners to make informed decisions about fertilizer application and soil amendments. Regular use helps maintain optimal soil conditions, ensuring healthy plant growth and maximizing crop yields. It’s an essential tool for anyone aiming to improve soil quality and gardening success.
1.2 Benefits of Using the Rapitest Soil Test Kit for Gardeners
The Rapitest Soil Test Kit offers numerous benefits for gardeners, providing quick and accurate results to assess soil health. It simplifies testing by measuring pH, nitrogen, phosphorus, and potash levels, enabling informed decisions on fertilization and amendments. The kit is cost-effective and user-friendly, making it accessible for gardeners of all skill levels. Its portability and ease of use allow for frequent testing, ensuring optimal soil conditions for plant growth. By identifying nutrient deficiencies and pH imbalances, gardeners can take corrective actions, leading to healthier plants and higher yields.
Understanding the Components of the Rapitest Soil Test Kit

The kit includes test capsules, a color comparator, and instructions for measuring soil pH, nitrogen, phosphorus, and potash levels. These components ensure accurate and reliable soil analysis.

2.1 List of Items Included in the Kit
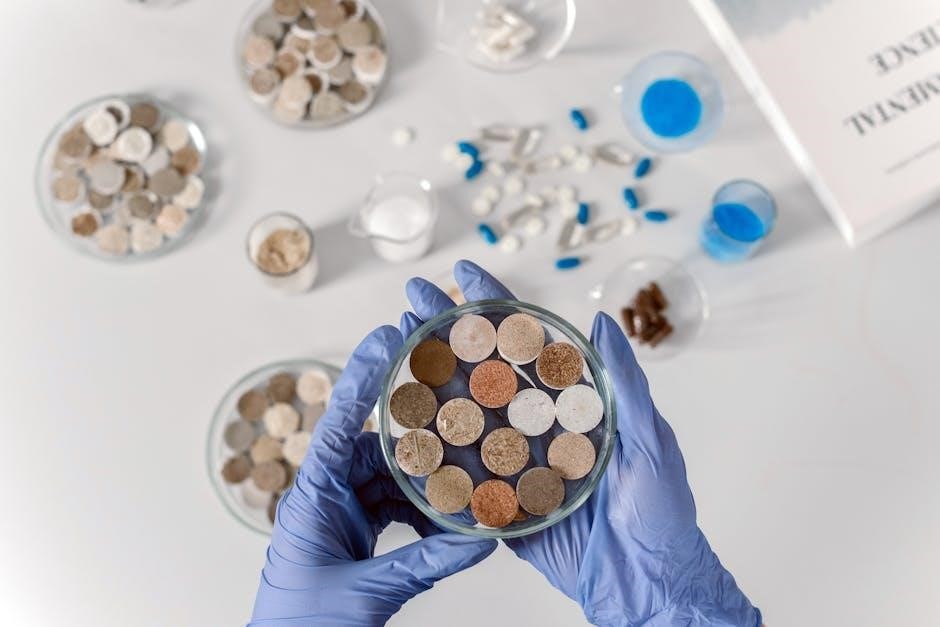
The Rapitest Soil Test Kit contains essential components for soil analysis, including test capsules for pH, nitrogen, phosphorus, and potash. A color comparator is provided for accurate result matching. Additionally, the kit includes a pH preference list to guide plant-specific adjustments and detailed instructions for conducting tests. The kit also features a small tube for soil samples and a simple capsule system designed for ease of use; These components work together to deliver quick and reliable soil test results for gardeners.
2.2 Explanation of the Color Comparator and Capsules
The Rapitest Soil Test Kit includes a color comparator and test capsules, which are central to its functionality. The color comparator serves as a reference guide, displaying a range of colors corresponding to different nutrient levels and pH values. The test capsules contain chemicals that react with soil samples to produce color changes, which are then matched to the comparator. Each capsule is color-coded and designed for specific tests (pH, nitrogen, phosphorus, or potash). They are simple to use: crush the capsule, add soil solution, and compare the resulting color to the chart for accurate results.
Preparing for the Soil Test
Preparing for the soil test involves collecting a representative sample and ensuring all materials are ready. Gather soil from multiple areas, mix well, and avoid contaminated spots. Prepare the testing area and materials according to the kit’s instructions for accurate results.
3.1 How to Collect a Soil Sample for Accurate Results
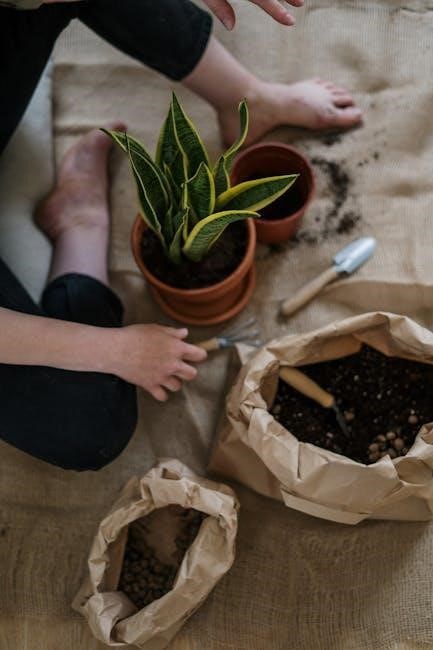
To collect a soil sample, select multiple areas in your garden to ensure representation. Dig 6-8 inches deep, avoiding debris. Mix the samples in a clean container to create a composite. Scoop a small portion into a cup, ensuring it’s free from contaminants. For best results, saturate the soil with distilled or RO water, but clarity isn’t critical. This method ensures accurate test outcomes, helping you understand your soil’s health and nutrient levels effectively.

3.2 Preparing the Testing Area and Materials
Before testing, ensure the area is clean and dry. Gather materials like distilled or RO water, the test kit, and a small container. Saturate the soil sample with water, though clarity isn’t crucial. Avoid contaminants to ensure accuracy. Open the test capsules carefully, matching them to the color-coded comparator. Lay out all components neatly to streamline the process. Proper preparation ensures reliable results, making it easier to interpret data and adjust soil conditions as needed for optimal plant growth.
Step-by-Step Instructions for Conducting the Soil Test
Follow the kit’s instructions to test soil pH, nitrogen, phosphorus, and potash levels. Use the color-coded capsules and comparator for accurate results, ensuring easy interpretation of soil data;
4.1 Testing for Soil pH Levels
To test soil pH, collect a small soil sample and mix it with distilled water in the provided test tube. Add the pH test capsule powder, shake gently, and allow the mixture to settle. The solution will change color based on the soil’s acidity. Compare the color to the pH comparator chart to determine the exact pH level. This step is crucial for understanding your soil’s acidity and ensuring it matches the needs of your plants. Accurate pH readings help guide necessary adjustments for optimal plant growth.
4.2 Measuring Nitrogen Levels in the Soil
To measure nitrogen levels, fill the test tube with 1 teaspoon of soil and 5 ml of water. Shake well and let it settle. Add the nitrogen test capsule, stirring gently. The solution will change color, which you compare to the color chart to determine nitrogen levels. Low nitrogen may require fertilization, while high levels can harm plants. This test helps ensure balanced nutrient levels for healthy plant growth and optimal soil fertility. Regular testing allows gardeners to adjust fertilizers effectively.
4.3 Assessing Phosphorus Levels in the Soil
For phosphorus testing, mix 1 teaspoon of soil with 5 ml of water in the test tube. After shaking and settling, add the phosphorus capsule. The color change indicates phosphorus levels. Compare the result to the color chart. Low phosphorus may require organic matter or fertilizers, while excessive levels can harm plant growth. Accurate phosphorus measurement ensures balanced soil nutrients, promoting healthy root development and plant productivity. Regular testing helps gardeners maintain optimal phosphorus levels for their plants. This step is crucial for soil health and fertility. Always follow the kit instructions carefully.
4.4 Evaluating Potash Levels in the Soil
To evaluate potash levels, mix 1 teaspoon of soil with 5 ml of water in the test tube. After shaking and allowing the mixture to settle, add the potash capsule. The color change will indicate the potash level, which can be compared to the color chart. Low potash levels may require fertilization, while excessive levels can harm plants. Accurate measurement ensures balanced soil nutrients, promoting healthy plant growth and resistance to disease. Regular testing helps maintain optimal potash levels, essential for overall soil fertility and plant productivity. Always follow the kit instructions carefully.

Interpreting the Test Results
Compare the test solution color to the chart to determine pH, nitrogen, phosphorus, and potash levels. Use the results to identify nutrient deficiencies and adjust soil accordingly for optimal plant growth.
5;1 Understanding the Color Chart and Results
Match the color of your test solution to the color chart provided in the kit to determine pH, nitrogen, phosphorus, and potash levels. Each nutrient has a specific range, and the chart helps identify whether levels are low, optimal, or high. Compare the soil pH to the preference list for your plants to ensure compatibility. If results show deficiencies or imbalances, refer to the kit’s instructions for guidance on adjusting soil nutrients. Accurate interpretation ensures targeted corrections for healthier plant growth and improved soil fertility.
5.2 Determining Soil pH Preferences for Different Plants
Plants thrive in specific soil pH ranges, and understanding these preferences is crucial for optimal growth. Vegetables and flowers often prefer slightly acidic to neutral soil (pH 6.0–7.0), while some plants like blueberries require more acidic conditions (pH 4.0–5.5). Use the pH preference list provided with the Rapitest kit to identify the ideal range for your plants. If the soil pH is too high or low, adjust it accordingly using lime or sulfur. This ensures your plants receive the necessary nutrients for healthy development and maximum productivity.

Adjusting Soil pH Based on Test Results
Adjusting soil pH based on test results is essential for plant health. Use lime to raise low pH or sulfur to lower high pH. This creates a balanced soil environment for optimal plant growth and nutrient availability, ensuring your garden thrives with accurate adjustments.
6.1 How to Raise Soil pH if It’s Too Low
If the soil pH is too low, use agricultural lime or dolomitic limestone to raise it. Apply the recommended amount based on your soil type—more for clay soils, less for sandy ones. Mix the lime into the soil and water thoroughly. For smaller adjustments, apply in stages and retest. Organic matter like compost can also help raise pH naturally. Avoid using ash, as it may disrupt nutrient balance. Always follow the kit’s guidelines for accurate results and healthier plant growth.
6.2 How to Lower Soil pH if It’s Too High
If the soil pH is too high, lower it by adding elemental sulfur or peat moss. Elemental sulfur is fast-acting, while peat moss works more slowly. Apply the recommended amount based on your soil type and retest after a few months. Incorporating organic matter like compost can also help gradually lower pH. Avoid over-liming, as this can harm plants. Always follow the kit’s instructions for accurate adjustments and ensure optimal soil conditions for your plants to thrive.

Troubleshooting Common Issues
Common issues include inaccurate results, often due to improper mixing or timing. Retest with fresh samples, ensuring correct capsule usage. Consult the guide for detailed solutions.
7.1 Resolving Inaccurate Test Results
Inaccurate results often stem from improper soil sample preparation or misuse of test capsules. Ensure soil is dry and finely ground before testing. Avoid contamination by using distilled water and clean equipment. If color comparisons are unclear, repeat the test with fresh samples. Expired or damaged capsules may also cause discrepancies. Always follow the instructions precisely, timing the reactions accurately. For persistent issues, consult the troubleshooting guide or contact the manufacturer for assistance; Accurate results depend on careful adherence to the testing process.
7.2 Dealing with Difficulties in Using the Test Capsules
Difficulties with test capsules often arise from improper handling or contamination. Ensure capsules are stored in a dry place and used before expiration. If a capsule is hard to break, gently prick it with a pin. Avoid over-handling to prevent oil from skin interfering. If powder doesn’t dissolve, check the soil-to-water ratio and stir thoroughly. For small capsules, use tweezers to handle them carefully. If results are inconsistent, repeat the test with a fresh sample. Always follow instructions to avoid contamination and ensure accurate results.
Regular soil testing with the Rapitest Soil Test Kit ensures optimal plant growth and health. Follow instructions carefully, store materials properly, and test annually for consistent results.
8.1 Summary of the Importance of Regular Soil Testing
Regular soil testing is crucial for understanding soil health and nutrient levels, ensuring optimal plant growth. It helps identify pH imbalances, nutrient deficiencies, and excesses, guiding targeted amendments. By monitoring soil conditions annually, gardeners can maintain balanced fertility, prevent over-fertilization, and support sustainable plant development. The Rapitest Soil Test Kit simplifies this process, providing quick, reliable results to help gardeners make informed decisions for healthier plants and higher yields. Consistent testing fosters long-term soil sustainability and gardening success.
8.2 Best Practices for Maintaining Optimal Soil Health
Regular soil testing with the Rapitest kit helps maintain optimal soil health by identifying nutrient levels and pH balance. Add organic matter like compost or manure to enrich soil structure and fertility. Avoid over-fertilization by following test results to apply only what’s needed. Rotate crops to replenish nutrients and reduce pests. Incorporate mulch to retain moisture and suppress weeds. Use natural amendments like lime or sulfur to adjust pH as recommended. By following these practices, gardeners can create a sustainable, balanced soil environment that supports vibrant plant growth and long-term ecosystem health.